I've been wanting to put together a collection of Easter things like this for a long time. After all, besides painting eggs, there is so much more interesting activities, which you can do with your children on the eve of the great holiday of the Resurrection of Christ.
1. Chickens from wooden sticks from ice cream. You can watch the tutorial on Crafty Morning.
2. Easter wreath for the door with colored eggs made of thread. You can watch the master class at Wine and Glue.

3. Postcards with a bunny and chicks made from fingerprints. You can watch the master class at Sarahndipities.

4. Fun packaging for Easter gifts. You can watch the master class at Desing Mom.

5. Cute chick from paper plate. You can watch the master class at Simple As That.


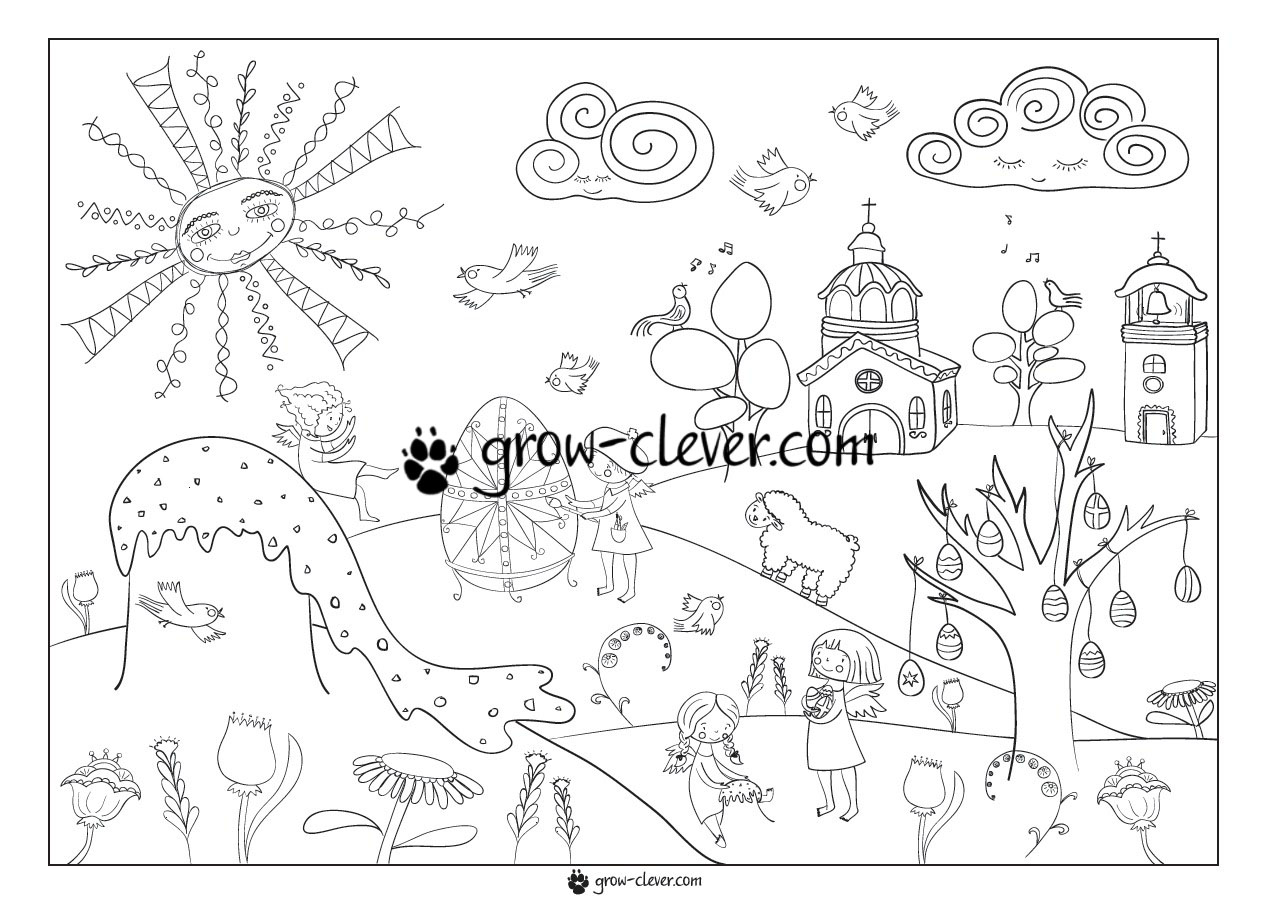
7. You can also download creative Easter coloring pages there.

8. Large cardboard bright spring and quite Easter birds. You can watch the master class on Krokotak.

9. Easter cards with simple birds and colorful flowers for the little ones. You can watch the master class on Krokotak.
10. Hand-drawn postcard with step by step instructions. You can watch the master class on Krokotak.

11. Simple chicks made using a cork lid stamp. You can watch the tutorial on Crafty Morning.


14. Easter wax crayons in the shape of bunny rabbits. You can watch the master class on Moonfrye.

15. Mega coloring book “Easter egg”. You can download it from MrPrintables.

16. Mega-raskaska “Easter Easter cake”. You can download it from Sibmama.

17. Let me remind you about our “Easter” coloring poster. You can download it at ;)

19. Emoji style eggs. You can watch the master class at Studio DIY!


23. Fun, simple felt bunny bags. You can watch the master class on Mermagblog.

24. Large cotton bags for Easter gifts. You can watch the master class on Mermagblog.

25. Angel wings made of cardboard for home theater, Easter photo shoot or just for beauty. You can watch the master class on Mermagblog.

26. Painting made from paper ribbons. You can watch the masterclass on Minted.


30. Super creative paper plate lacing. You can watch the master class on Red Ted Art.

31. Cute bunny bookmark. You can download the template from Hello, Wonderful!

32. Potato stamps in the form of Easter eggs. You can watch the tutorial on Crafty Morning.


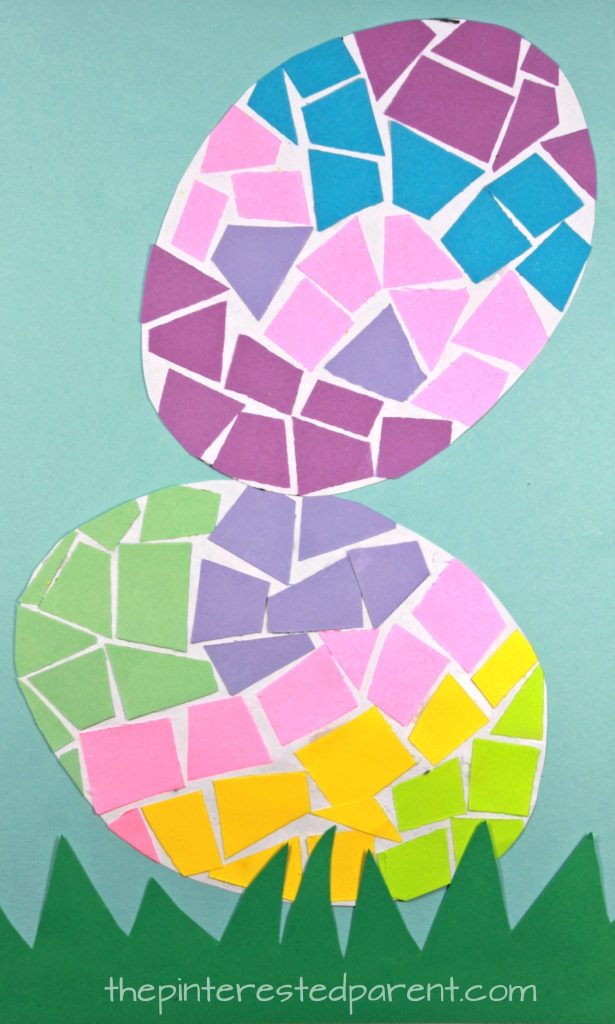
34. Easter eggs made of paper, painted using pom-pom stamps. Preschool Activities.


37. Painting from buttons. You can watch the master class on Crrieelle.

38. Volumetric paper pendants in the shape of chickens. You can watch the master class on Red Ted Art.


40. Easter finger theater. You can watch the master class at
For Easter table the whole family gathers. This is a bright and joyful day. An integral part of the traditions and surroundings of this holiday are Easter eggs, all kinds of “painted eggs” and “pysanky”. Notes of a layman proposes to expand the horizons of imagination, and instead of the usual coloring, experiment with various materials and technicians. As a result, you will receive original decorative jewelry and a lot of positive emotions.
You might be interested to immediately read:
Easter egg coloring: marble and silk patterns
"Marble" Easter eggs
For this coloring method more suitable synthetic dye, so it is better to clean the eggs from the inside. Pierce small holes in the top and bottom of the shell, then pierce the yolk and carefully remove the contents with a douche or syringe. Rinse well and dry. Such “paints” will serve you for many years.
— Dissolve the base dye in a deep bowl, add a couple of tablespoons of vinegar and color the eggs a uniform color. Place them on a napkin or wire rack and leave until completely dry.
- In another, shallow bowl (so that the egg is not completely submerged), dilute the dye in a darker tone or contrasting color. Pour in 1 tbsp. vegetable oil and stir it so that liquid forms on the surface beautiful patterns. Dip the egg and roll around the circumference of the bowl. The oil and dye will settle on the shell, forming a fancy marble pattern. Pat with a paper towel and let dry.

Silk patterns
Very funny way coloring pages easter eggs, which allows you to get intricate and all kinds of patterns.
For work you will need: various scraps of 100% silk (enough to wrap an egg), rubber bands, raw white eggs, vinegar, enamel or glass pan, paper towels, vegetable oil, old cotton white sheet or tablecloth.
- Wrap the raw egg tightly with a piece of silk (right side facing the shell) and secure the fabric with an elastic band. Wrap a piece of undyed cotton over the top.
— Place the eggs in an enamel or glass pan, fill completely with water and add 3 tbsp. vinegar. Bring the water to a boil, continue to cook for 40 minutes over low heat.
- Remove the eggs from the water, let them cool, then remove the material. To add shine, dip a paper towel in the oil and wipe the shells.

Painting Easter eggs: wax, marker and paints
"Pysanki"
 It is based on the Ukrainian pysanka technique - drawing wax patterns on hard-boiled eggs. Melted wax is applied to the egg, which is then dipped in dye. After dyeing, the wax melts and intricate patterns are revealed.
To create a more complex pattern, you can use wooden skewers, a pencil eraser, or a pin. However, this cannot be done without some skill. There is also a simple, no less interesting technique for which you will need: eggs, food coloring, wax, a container for melting wax, several bowls for different dyes, paper towels, a baking sheet.
— Color the eggs in a light tone (later you can make the dye more concentrated for stripes of a rich tone).
- Melt the wax in a water bath and dip both ends of the egg into it (the wax will prevent the covered area from turning into the next color).
-Dip the eggs into the next dye for a minute, remove and let dry completely. Then dip it again, only deeper, into the wax, leaving a wide strip in the middle for coloring. Now dip into the third dye.
— Place the fully colored Easter eggs on a baking sheet covered with wax paper and place in the preheated oven for 5 minutes. When the wax melts, remove it with a paper towel.
Watercolor and marker for coloring Easter eggs
If you have high-quality watercolors and watercolor pencils (they spread a little and form an interesting pattern when in contact with a wet surface), you can safely experiment and create original patterns on the shell. If you want to save the eggs until the next Easter holiday, clean them of their contents and coat the design with a fixing protective spray varnish.


Even in the absence of watercolors, you can create creative Easter decorations using only a permanent marker.

Easter egg decoration: stencil, washi tape and decoupage
Funny ornaments from Japanese washi tape (Washi)
Those who do scrapbooking are very familiar with this decorative tape. A wide range of prints, sizes and shapes allows you to use Washi tape for any decor, including the decor of Easter eggs. The material is very easy to use, you just need to carefully glue a strip of tape to the surface.

We create stencils from adhesive tape and double tape
To achieve a similar effect, adhesive stencils or strips of electrical tape are used.
— First, wrap the uncolored egg narrow strip tape or stick on stencils. Dip in first color, then dry with paper towel.
— Remove the film. Apply a second layer of tape in the opposite direction and dip into the second dye. Dry. WITH ready eggs remove the stencil strip.

And such wonderful Easter eggs are decorated with double stationery tape and multi-colored glitter.

It seems to me that when we decorate eggs, we, without even realizing it, are not just painting, but spiritually preparing for the holiday. Some, to a greater extent, some to a lesser extent, are in a state of peace, a premonition of joy. This is already a kind of meditation.
Meditative drawing comes in very handy here. The shape of an egg on a plane or just an oval sets the boundaries within which you can draw zentangle balls, just different patterns. I got something like this, for example. These designs for decorative eggs or cards in the doodling style are interesting and unusual, both in black and white and in multi-colored versions.

If you like more meditative coloring, you can take a ready-made template. Free coloring pages for eggs, for example, from those that I published here, you can print them out and make beautiful cards, refrigerator magnets, or just meditate while coloring.
Patterns for Easter eggs can be detailed if you draw on a large decorative blank, but for small eggs it is better to choose a simpler pattern, and you can fill it with more and more details as you go.


We also painted our natural eggs with polka dots, in the style of dot art. For this purpose, special food-grade pearlescent paints were used. Fortunately, now a lot of this stuff is sold. Unfortunately, this time it was not possible to decorate large wooden blanks. But I think this can be done not only in preparation for Easter.

Such patterns for painting eggs are suitable for decorative crafts and postcards. Both options are floral designs, the first is close in style to zendoodles, and the second is just the idea of a lace design. Lace can be painted with white paint on a dark background, it will look very nice!

Of course, I drew these patterns for Easter eggs, not all of them, on greeting cards. I'm not into scrapbooking, although I do enjoy looking at beautiful examples of handmade cards. Perhaps for some holiday I will try to create something like that. And this time, these are just colored postcards in the shape of eggs. Here is an example of what happened on both sides of the card.

HAPPY EASTER!